
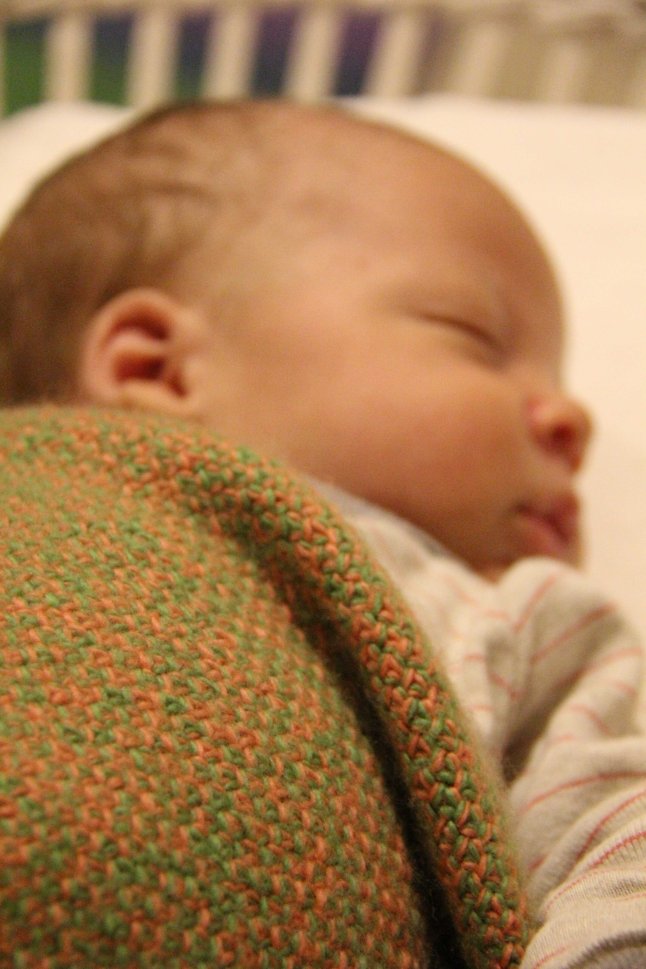
There’s an apparent baby boom going on among my friends at present so I’m in (yet another) flurry of knitting activity trying to make sure I have something for all the new arrivals. I was running a little bit behind schedule when this little lady made her entrance in such a hurry that she was (unexpectedly) delivered with help from her dad and 000 in the bathroom! Not that the dramatic (and fortunately safe) circumstances of her arrival are any excuse for my late knitting. She was actually right on time.
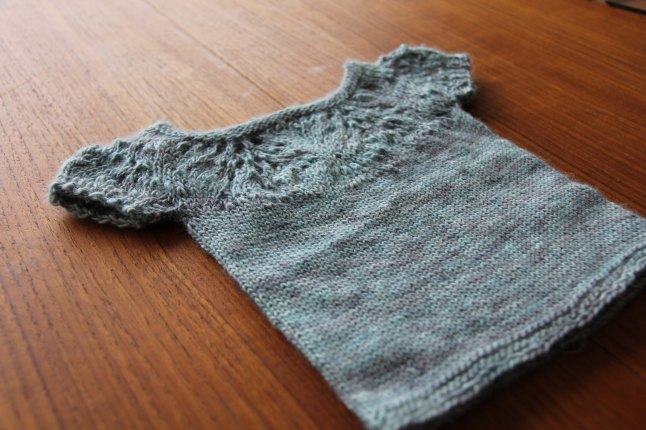
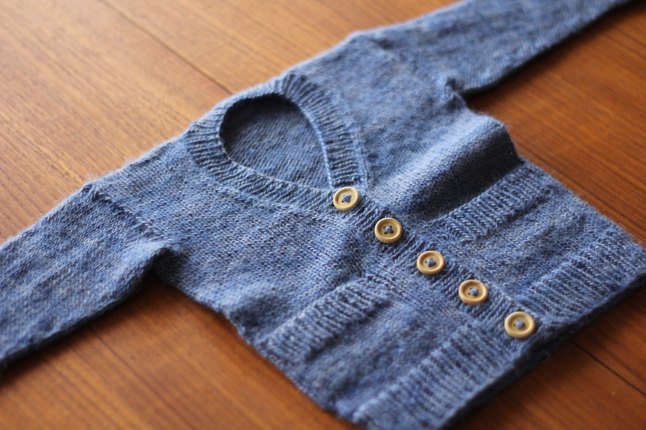
A relatively quick knit for a little girl who also likes to do things in a hurry.
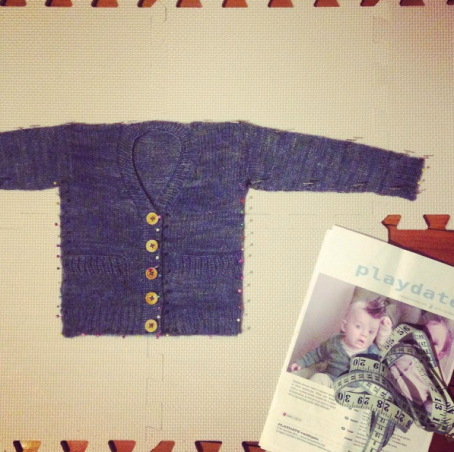
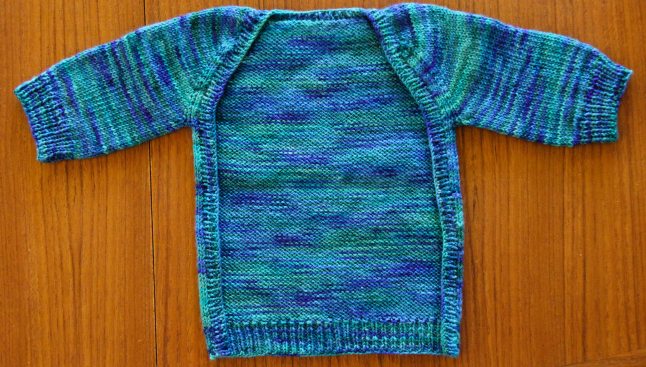
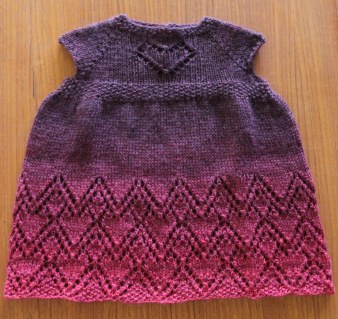
So having knit old favourites recently, I decided to go with something new for this little lady.
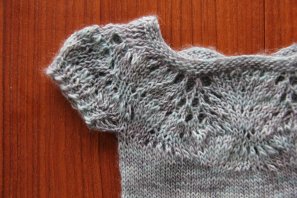
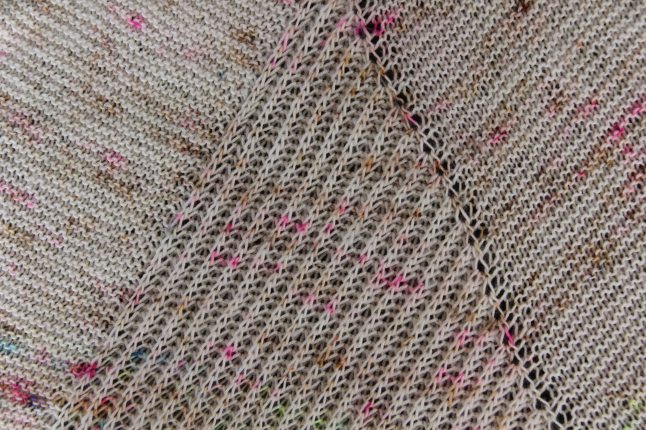
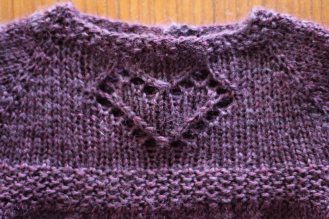
Skew-whiff lace.
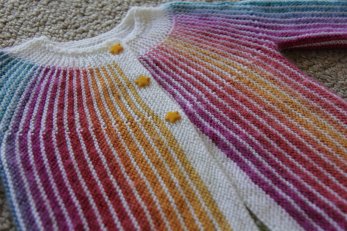
Pattern: Marguerite by Helen Rose
Cost: $5 USD
Source: Ravelry download
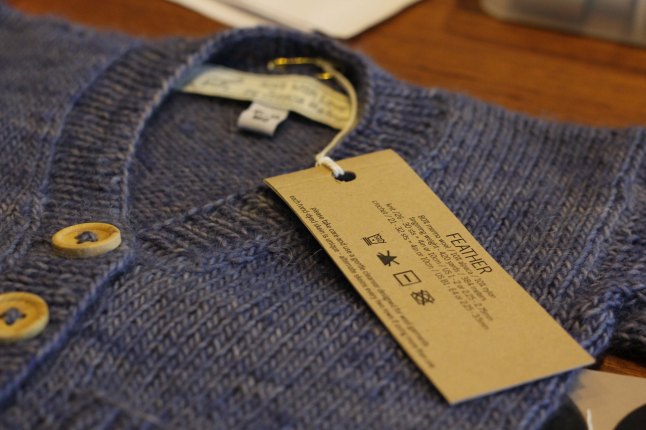
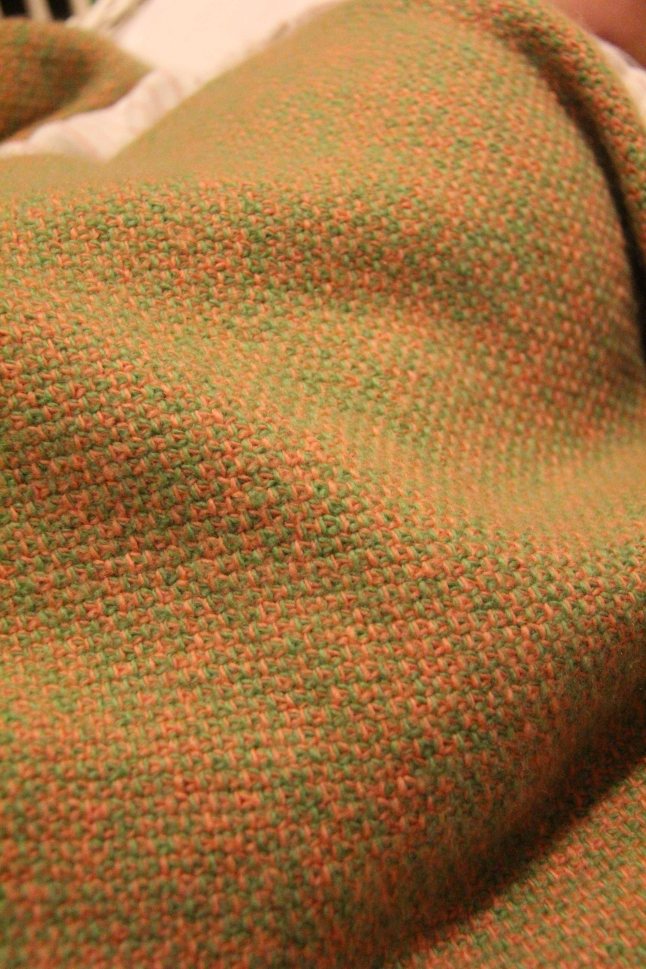
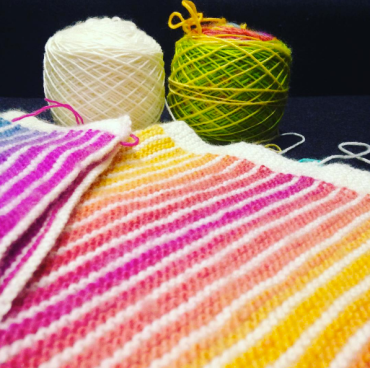
Yarn: Madelinetosh Feather in Over the Ocean
Needle: 3.25mm and 4.5mm 16″ circular and 4.5mm DPNs
Before I get on to the pattern—which I’ll say now made me a little grumpy—the yarn I used for this is fast becoming a favourite. Delicate, soft and subtly shimmering colour. Having not known it existed a few months ago, I am becoming a firm fan of single ply yarn for anything light and soft.
So, while this is a sweet little lacy top which is very simple to make, some aspects of this pattern irked me and my perfectionistic tendencies and I’m not sure I’d make it again without making a few corrections.
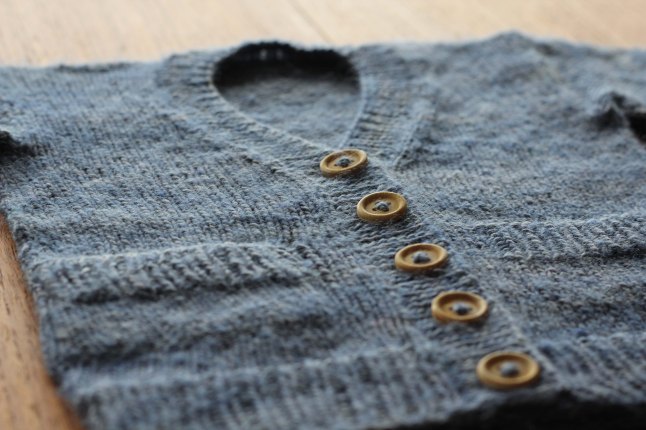
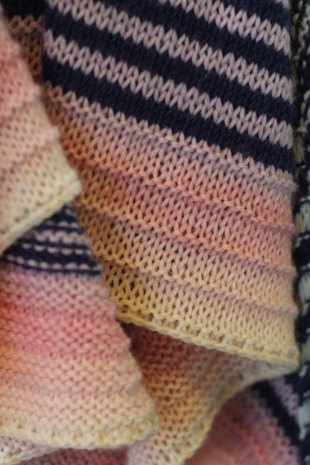
My first gripe is that the lace repeat is not symmetrical. Instead of working ssk on one half of the repeat and then k2tog for the other side, as one would expect in a lace pattern, all the decreases are worked as k2togs. To me the whole thing looks a bit skew-whiff as a result.
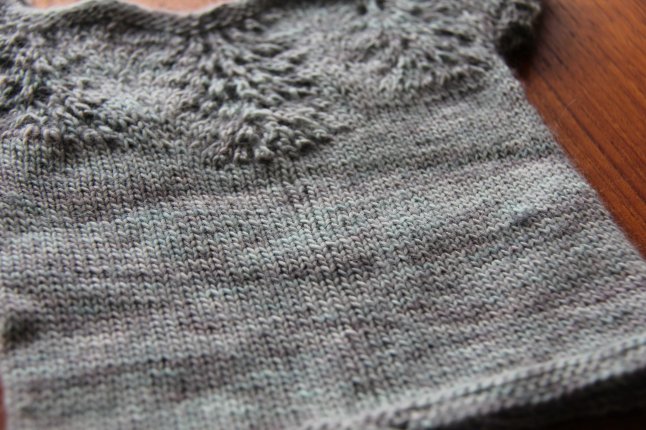
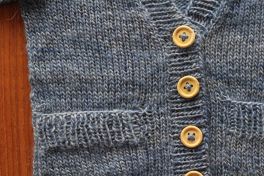
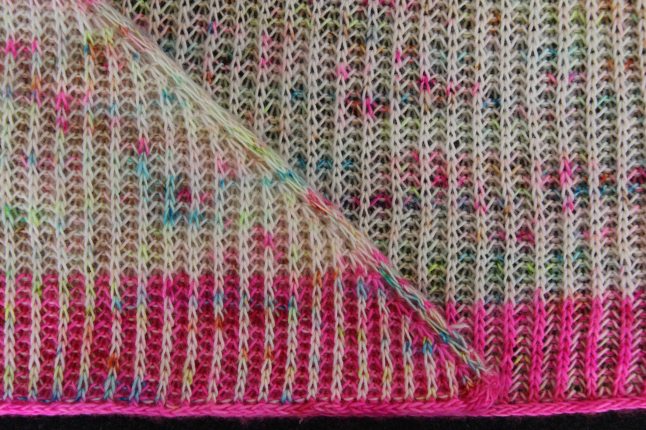
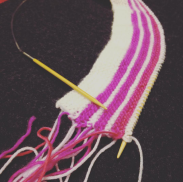
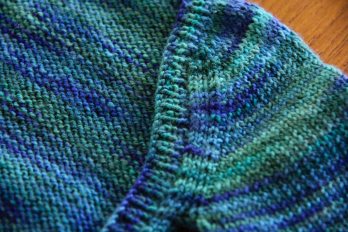
Despite a thorough blocking, there is some visible laddering due to the beginning of the round running up the middle of the back.
The second foible, which I didn’t realise until I was well underway, is that the beginning of the round is positioned in the middle of the back of the garment. This isn’t a big deal in the lacy section, but despite my very best blocking, there is a clear ladder in my stocking stitch bodice at the point where the round began. It would have been far better for this to be under an arm, out of sight.
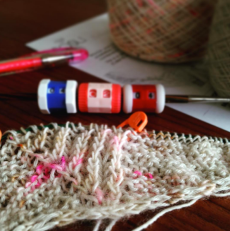
The pattern includes instructions to use stitch markers to help keep track of the lace repeats. However, with the inclusion of various increase rows which shift the location of the markers, this involves putting the markers on only to take them off again a few rows later. While this is all very clearly described in the pattern, it’s quite a to-do and I would probably have been better just to work without the markers all together. The repeat is pretty simple so it’s not too complicated to work out where you are up to if you lose your place on a lace row.
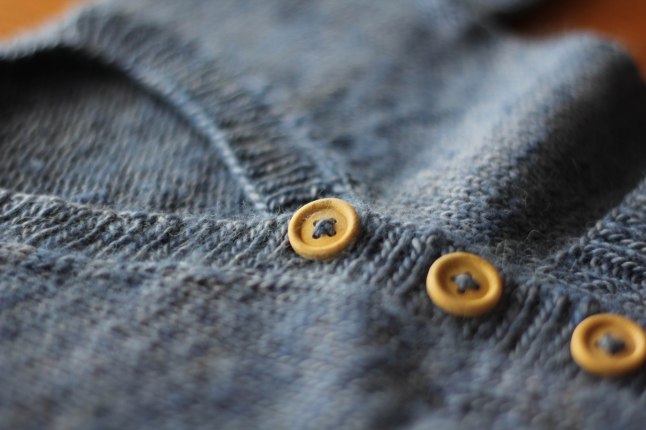
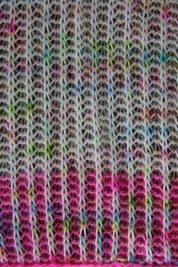
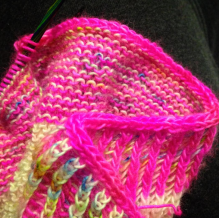
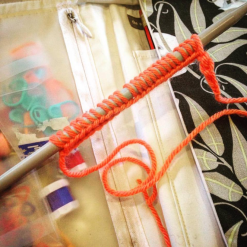
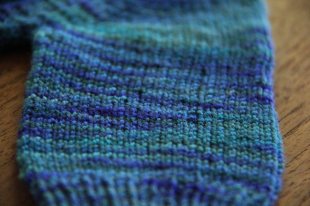
A poorly executed bind off.
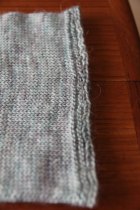
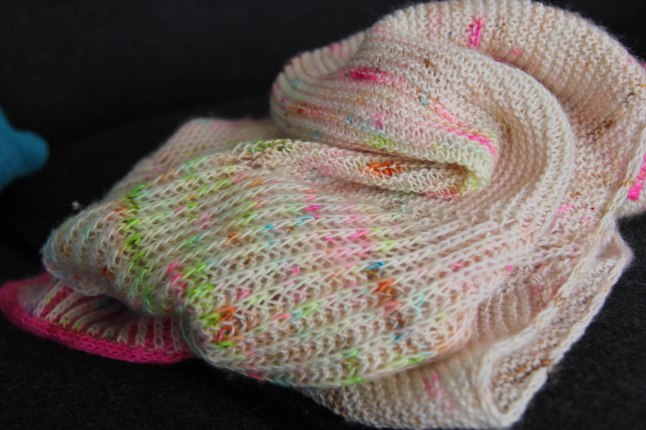
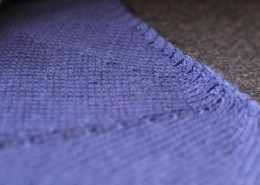
The last irksome feature of my finished object is of my own doing. I initially started to cast off the bottom of the bodice using a simple chain cast off in purl, but felt that there wasn’t any stretch in it and that it might be too tight to pull onto a wriggly baby easily. So I ‘ffo-tsac’—not my favourite knitting manouvre—and instead used Jeny’s Surprisingly Stretchy Bind Off. While it is, as advertised, surprisingly stretchy, I wasn’t as even in my technique as I would like and as the beautiful stitch definition of the yarn isn’t very forgiving of poorly executed stitches, my cast off edge leaves a little to be desired. I used the same technique for the ribbed sleeve cuffs where the aesthetic issue is fortunately far less conspicuous.
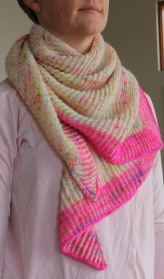
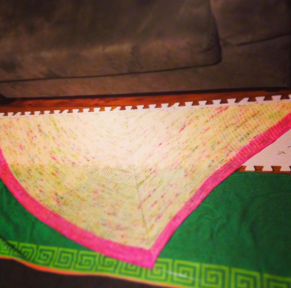
So, although it’s slightly wonky looking and laddered, this is a soft and lovely lacy top which knit up very quickly for a very lovely little lady who also likes to do things in hurry.
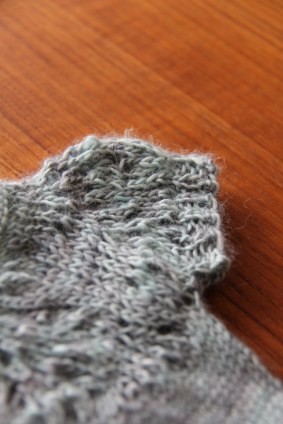
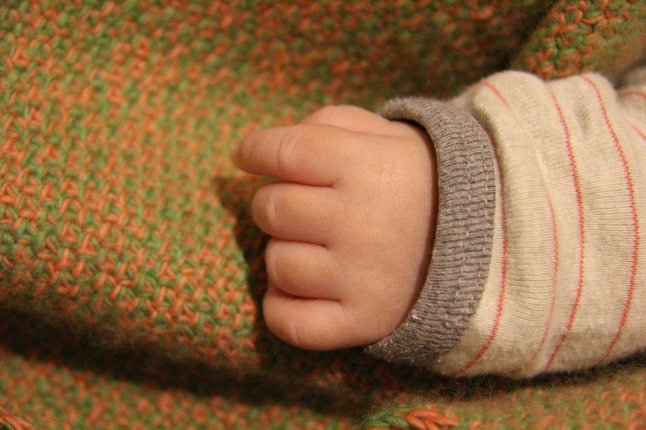
Lovely stretchy cuffs thanks to Jeny’s Surprisingly Stretchy Bind Off.


 Pattern:
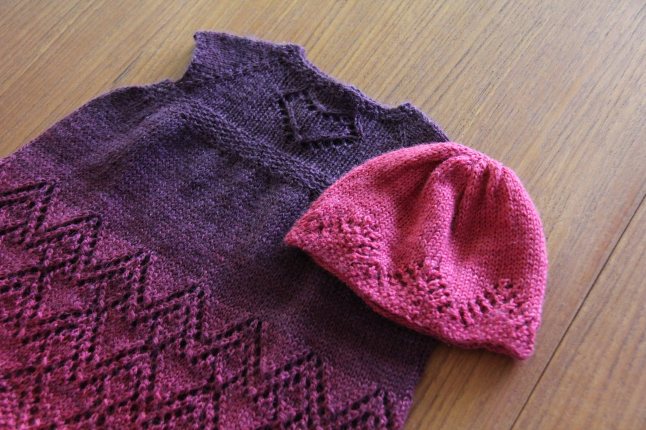


